
Was I ever surprised to find out both sides of the notecard are printed in this lovely print! There was no way I was going to let that back panel go to waste, so I cut the cards in half to get the most out of that gorgeous print.
Here's the notecard I designed with it:

Supplies: paper (Making Memories, The Paper Company, Dollar Tree notecards); stamp (Coffee House Alphabet by Inkadinkado); ink (Versamark with gold embossing glitter); MS PATP Iron Gate Fence border punch; Nestabilities Labels 1; CB Textiles embossing folder.
I wanted to line the envelopes of the matching stationery (picture is later in the post), so I decided to use the back panel of the cards for that. But since there were only 8 notecards to 10 envelopes, I had to get a little creative with how I used the remaining 6 notecards in order to get 8 full cards out of them. [Is that sounding confusing to anyone else?] That's when I got the idea of cutting the panel in half and accenting with other decorations. I based it on last week's 2S4Y sketch. I really liked how it came out!
Now, on to the envelopes ... I made a template for the liner, using the envelopes as a guide. (It's usually best to make a different template when you switch brands of envelopes, since they're all shaped just a little different.) But then I noticed that my notecard wasn't quite deep enough to line the envelope flap and the inside of the envelope that you can see. But I had some triangular scraps leftover from my cutting, so I decided to piece them. Here's what it looked like before I pieced them:

And here's what it looked like after I pieced them:

And finally, here are the envelopes with the liners in place:

It made a HUGE difference in the look of the stationery set! The pattern doesn't match up perfectly at the "seam", but the print is busy enough that you don't even notice it.
So here is the stationery, exactly how I bought it:

And here is the matching file folder that I bought. I opened it up for the picture. It came in a pack of 3:

Isn't it gorgeous? Again, the pattern was on both the front and back, so my decorating possibilities were doubled.
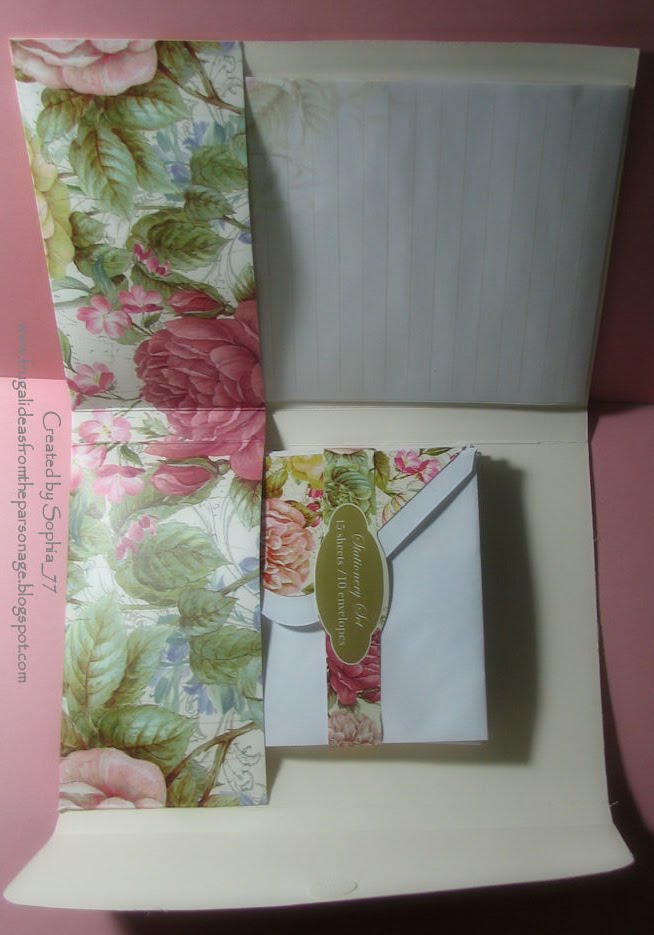
I made a stationery folder out of the file folder. I made it exactly like the first notepad holder in this post, except I didn't add a notepad. Here's what it looks like inside. (Sorry that it's sideways, but Blogger does that to the occasional photo, and I can't do anything about it.)
And here's what it looks like outside, complete with the matching notecards:

I made them for my Secret Sister who loves to write, and I think she's going to like them. I know I love that print! :)


1 comments:
Beautiful! Love that print too! You did a great job with them.
Post a Comment