Wednesday, April 30, 2014 1 comments

The Dolls' Easter Baskets


My kids enjoy involving the dolls in our celebrations, so I had a lot of fun making them mini Easter baskets this year.

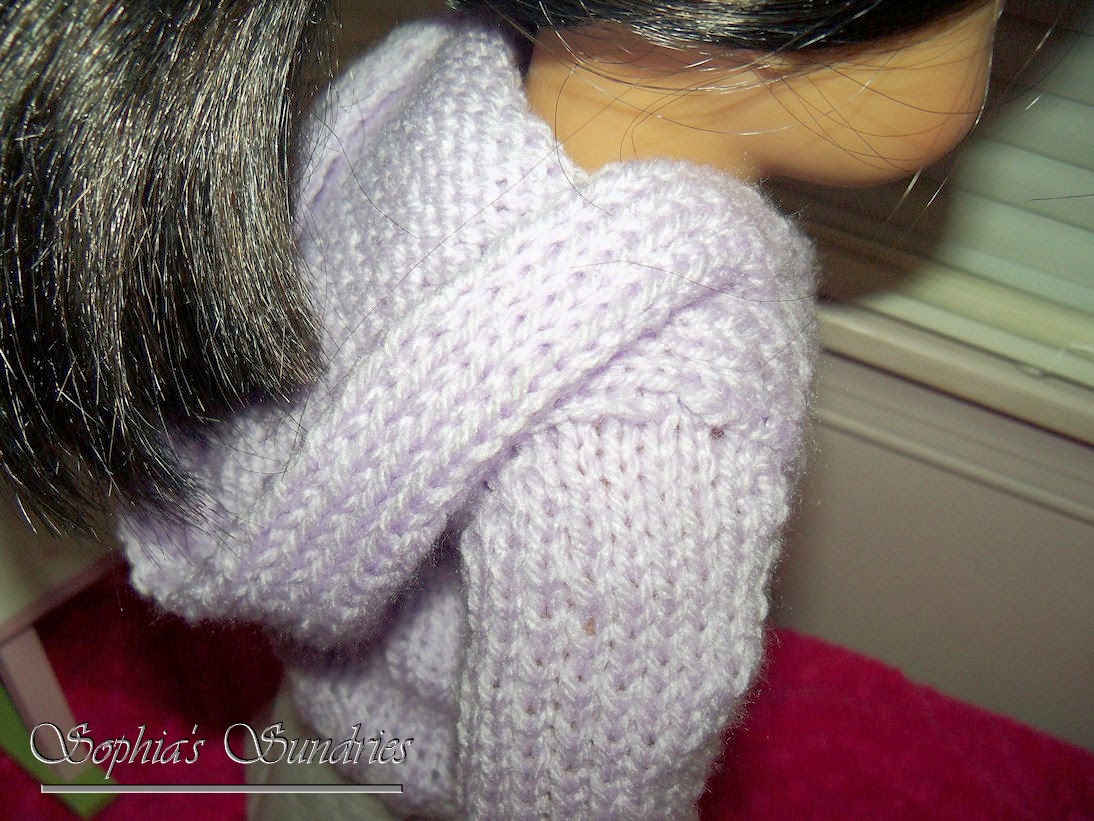
The baskets themselves are dye cups from (I think) a Dudley's egg dye kit. Of course, they were unused (I use the dye for yarn). Paige got a new pair of shoes (from Wal-Mart), a hamster (an eraser from Michaels that was on clearance for $0.10), a "chocolate" lamb (made from oven-bake clay) that you can't see here, and a black knitted shrug that matches the one my daughter got in her Easter basket.

Did you notice that Paige has a beautiful new room? I'll share more about that once we have all the furniture painted.


Alex and Darren (the new boy that just joined our doll family) decided to go camping the night before, so his basket was delivered to their campsite. He received a new pair of shoes (from Wal-Mart), a hamster (eraser from Michaels), a "chocolate" lamb (oven-baked clay), and a mini deck of Uno cards that are in the back and aren't showing up very well.

I was especially thrilled to find the mini Uno games at Wal-Mart this year. They were in the Easter section, priced $1.99 for 4. I correctly assumed that they would sell out before Easter was over, so I picked up a pack as soon as I saw them. My kids love mini games for the dolls. (The other three games have already found homes with other doll-loving girls that we know.)

By the way, Darren is a hit with both of my kids. My son is thrilled that Alex has a friend to go camping with him now, and my daughter is thrilled that there's another boy on the scene to like another of the (doll) girls. The last I heard, Darren likes Kit. :)
Monday, April 28, 2014 2 comments

EASY Doll Easter Candy and Cookies


If you're terrified of working with oven-bake clay but like cute treats for your dolls, this project is for you! I'm always on the lookout for doll projects that my kids can make for art class, since we homeschool. These were perfect!

I know we're a little late for this year, but this same idea can be applied to almost any season, given the right materials. So ... what's the secret "ingredient" that makes all of these so easy? Extra-thick foam stickers.

I got these egg- and bunny-shaped extra-thick foam stickers at Dollar Tree this year with this project in mind. There were enough stickers to make three sets like this, and extra smaller and larger stickers leftover. Not bad for $1!


These bunny shapes were the hardest to cut around neatly. I mounted the foam stickers onto a thinner sheet of white foam and then cut around them, leaving a small margin (maybe 1/8"). If I had cream-colored thinner foam on hand, I would have used it, since I was going for a sugar cookie look. But white works just fine when you want to use what you have. Then we used dimensional fabric paint to add the details.


As you can see, these are the perfect size for the dolls. (This is a Springfield doll's hand, in case you're wondering.)


And here is our version of Peeps candy (more like their rabbit version). These were the smallest bunny shapes in the sticker package, and I immediately thought of this. I just stacked two of the stickers back-to-back, and they really resemble Peeps candy.


See? They're about 1/3" thick. I was very fortunate that these bunny stickers are almost perfectly symmetrical, so I could put them back-to-back like I did.

I'm going to be keeping my eye out at Dollar Tree as the seasons change. They seem to be carrying these foam stickers with each new season lately.
Wednesday, April 9, 2014 1 comments

Another Boy Doll Joins the Family


Before
A month or so ago, my husband picked up this doll at a thrift store for $0.50. It had clothes on, and he reasoned that the clothes were probably worth that much, at least. Unfortunately, he was wrong. I ended up throwing them away. (And you know I don't throw much away.) BUT the doll itself had some potential for another boy doll, even if it would only provide me some more practice and have to be thrown away in the end.

Before
But before I go into all of that, you really need a better look at just how bad this doll was. You can see that some little girl must have attacked her with scissors.

Before
Before
Even the bangs had been trimmed, since the Springfield dolls' bangs are usually almost down to their eyebrows.

So the first thing I did was try to even out the haircut.

I started with electric hair clippers. Mine have numbered plastic attachments, and I used a #8 so it would cut the longest possible but still appear boyish. (I didn't mess with the bangs. They were more than short enough.)

After that, I took a deep breath and started evening it out with scissors. I'm not that great with cutting real hair with scissors (which is why I have the electric clippers in the first place), so I didn't have high hopes for the doll.

After the haircut
 You might be able to see a bit of "scalp" at the bottom of the haircut. After I took this picture, I went over that section of his scalp with a dark brown Sharpie marker so it would blend in better. (The rest of the scalp under his hair was already colored like this, since it's one way the company can get by with less hair.) It worked great because he has no more skin showing under his haircut.

After the haircut
I worked quite a bit on the transition from the bangs to the rest of the hair, but it was worth the time. It made all the difference.

After the haircut
See? He's looking better already!

But he still has those hideously unnatural bright pink lips and his eyebrows are too thin for a boy. (If I could, I would go back and give Alex boyish eyebrows, but I was terrified of it at the time.)

New eyebrows and lip color
This picture is a bit washed out from the flash, so his eyebrows look a bit too dark. But check out the next few pictures for what he really looks like.

I did the eyebrows and lips with regular acrylic paint. If you make a mistake, you can wipe it off while it's still wet and redo it. I did his eyebrows at least three times before I was happy with them.

Just a little note about the eyebrows: Some people have completely removed the eyebrows with acetone, but I left his on (and just painted over them) to give me a guide for where they should be. It really did help.

For his lips, I mixed about half red paint and half white. It still looked too girly, so I added about two drops of brown, and it was just right.

All done - and dressed!
Here he is, modeling a shirt I refashioned (i.e. upcycled) from a baby boy shirt we found in a thrift store on $1/bag day.

All done!
I really like how he turned out. I'm amazed that he's even cute! :)

He'll be officially joining our doll family on Easter, when he'll be the special guest. (My kids don't know about him yet.)

I hope you enjoyed this peek into the transformation process.
Friday, April 4, 2014 2 comments

Knitting: Doll Hoodie


I made another doll hoodie from a paid pattern I had purchased and used a year or so ago for the Bitty Twins. This time, I'm making it for a friend's daughter that recently got her much-desired AG doll McKenna.


I did a few things differently this time. First of all, I changed the rolled edges to ribbed edges, since I think it makes the sweater look more "finished".


See how much better the hood lays? You can compare it with the hoodies I made before. It might not be as noticeable in the pictures, but it certainly is in person.

The other change I made was to do a seamless set-in sleeve (top-down) properly. I followed the instructions in this video. It really wasn't as hard or confusing as it might sound at first. It's quite easy, actually, and you get a well-fitting sleeve cap with no seaming.

For more details, you can view my Ravelry project page with more information here.
Wednesday, April 2, 2014 1 comments

Knitting: A Smaller "Sampler" Shawl


This is my daughter's size of our matching shawls. I did one less leaf repeat to make it as small as possible. (This one used just one repeat of each lace section.)


It's still big enough that I could wear it, but it doesn't overwhelm her smaller structure. She should be able to wear it for many years to come.

This one took just three days, so it was an entire day quicker just by eliminating that one leaf chart repeat.

Please note that the pictures make it look like there's a stain in the top center of the shawl. There isn't. That's just the colors showing through from my blocking mat underneath.

You can view all the details on my Ravelry project page.
 
;